Lexan or plexiglass
So you are making the ultimate arcade machine and you have some sweet artwork planned for your control panel and you want to protect it. I mean, some friend of your kid could be hanging out, in your garage, and spill his Coke all over your precious control panel, are you going to freak? Nope. Are you going to come at him, bro? Not even. You will be as cool as a cucumber. Why? Because you thought ahead and protected your artwork, you smart person, you. But if you still wanted to you could ban that kid for life because he has no Coke control, and nobody would blame you. You can’t afford to build another ultimate arcade machine from scratch and you certainly don’t want butterfingers with the Coke holding problem still lurking around. He probably picks his nose, too.
Anyways, the debate between Lexan vs. Plexiglass is an oldie but a goodie. Plexiglass is cheap, and by “cheap” I mean both an inferior product to Lexan and less expensive (one 48″ x 36″ sheet was about $30). Plexiglass is more brittle but it is still tough and can serve your purpose and save you money. Lexan costs more than twice as much (one 48″ x 36″ sheet was about $80) but it will not crack. For me, as you know, I’m on a very tight budget so every dollar counts but the thought of cracking the overlay was a huge factor.
I’ve heard some horror stories where someone is drilling out the button holes on their Plexiglass overlay only to make it to the last one and have it crack, splintering the overlay rendering it useless. Typically this problem occurs to those who are drilling 12 to 16 holes on their overlay. I will be drilling 50 holes. Some people online swore by plexi saying if you go slow enough there isn’t any real threat of ruining the plexi. Still, with my wood working skills, I cautioned on the side of potential error.
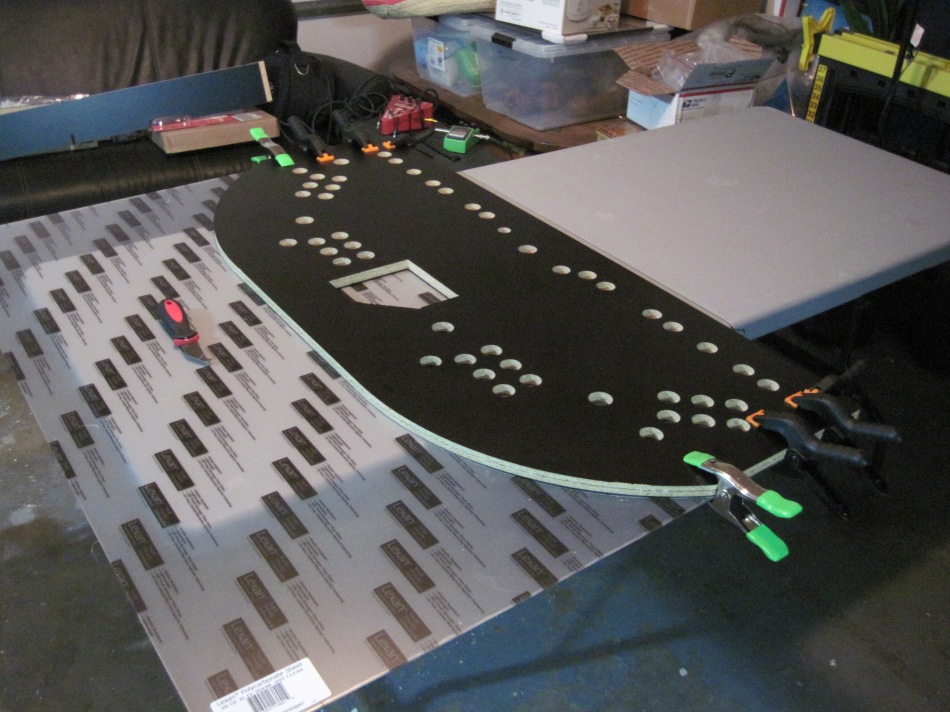
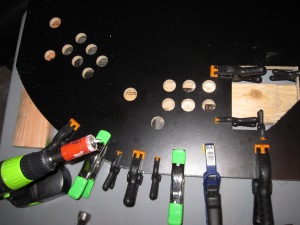
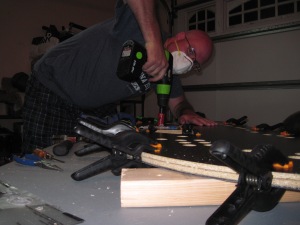
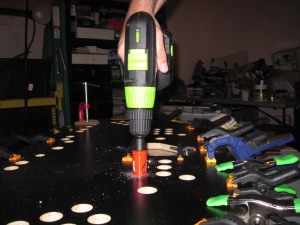
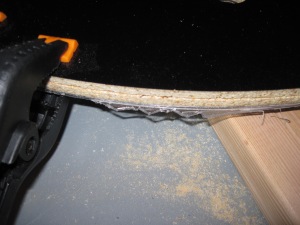
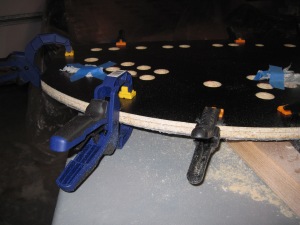
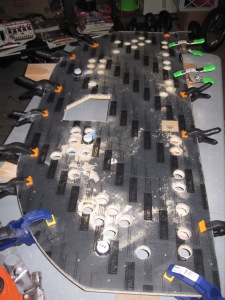
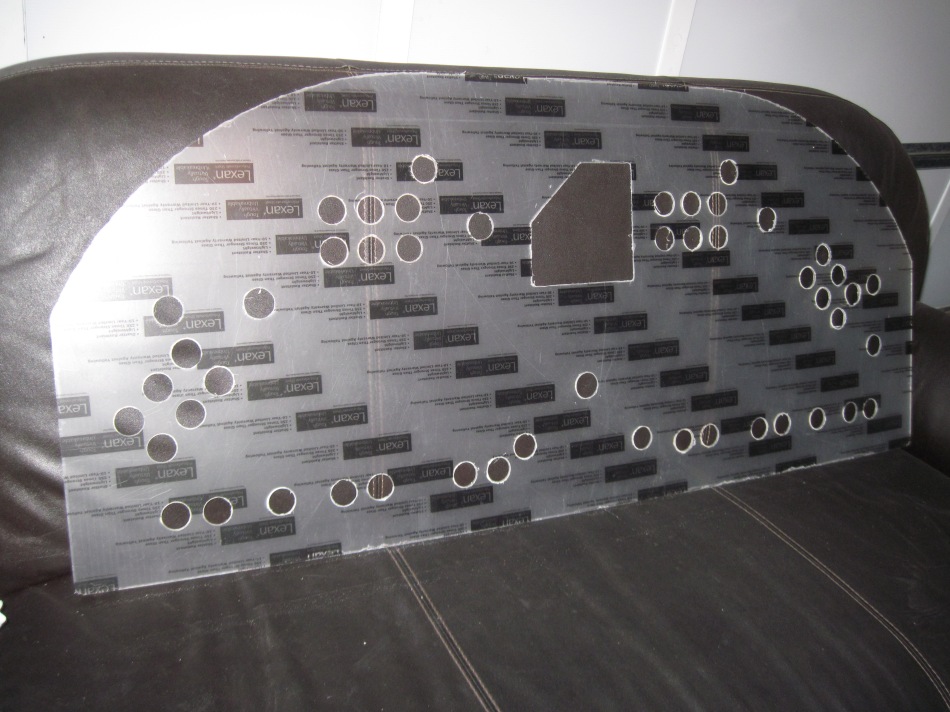
I clamped the Lexan sheet to the bottom of my CP top board, with the pre-drilled holes, and as carefully as I could I began drilling. I clamped it on the bottom so I could use the pre-drilled holes as guides automatically lining up perfect corresponding holes on my overlay. I had also picked up a hole saw drill bit for my simple cordless drill, and a Lexan scoring knife. I wasn’t too worried about scratching up the surface of my CP with the hole saw since I was going to cover it with artwork and a Lexan panel protector.
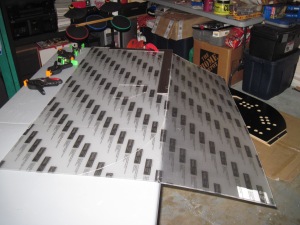
Here is how it was going to go down: First, I was going to score the Lexan so it would be in the general shape of the CP. Second, cut out the oddly-shaped trackball area. Third, clamp it up and drill away those pesky, unwanted holes. Fourth, sand down the rough edges as needed.
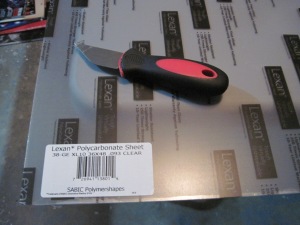
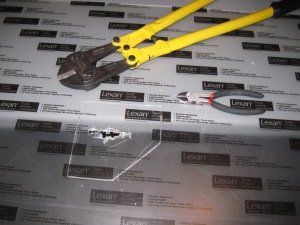
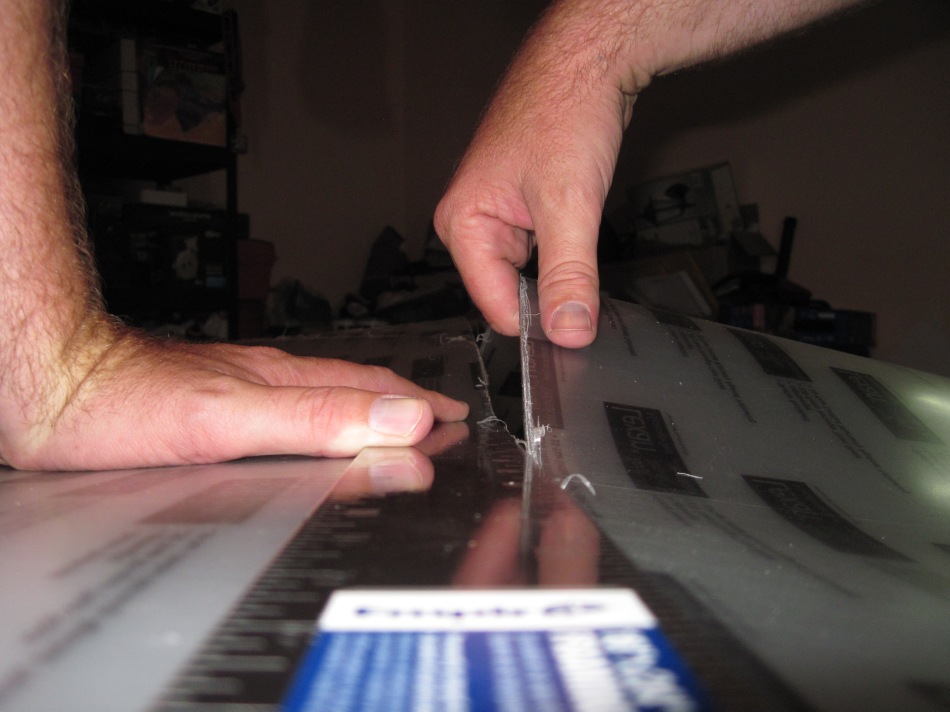
The scoring knife did not work as advertised and I would like my $2.55 back. I scored the crap out of that Lexan but due to its tough durability I could not just “score it and snap it off” as was casually described to me by the Lexan scoring knife packaging. So I thought I would take a different approach and try cutting along the main line. FYI, I don’t have any scissors or cutters of any kind that can cut Lexan. Nothing was big enough. Nothing that is, except for… my BOLT CUTTERS!!!
So I started the cut with the bolt cutters and ended up ripping it along the scored line with the help of a t-square just to make sure it didn’t rip anything it shouldn’t have. Total success. The odd-shaped trackball hole was a bit harder since I couldn’t really get a good enough grip to tear until I had cut enough of it away. I couldn’t fit my bolt cutters into the hole. I was so desperate I even got out my sawzall and tried to make a pass. Luckily I didn’t completely destroy my overlay or my leg. Finally, after trying various knives and cutting tools I had a hole big enough where I could grip the inner Lexan piece with my needle-nose pliers and tear along the scored line. Success!
So then it was on to more clamping and drilling.
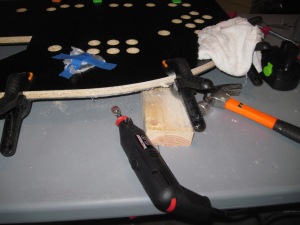
In this first picture you can see I’ve clamped a 2 x 4 under the holes I was going to drill. This made it so as I would push the drill down through the Lexan it wouldn’t pull away from the CP creating a messed up overlay. This also guaranteed a straighter cut through the Lexan, as well.
In order to sand the edges down a bit I rashly decided to employ my Dremmel tool. It does sanding, right? Oh yeah, it does. Just a little bit too well. I should have taken the time to sand the edges by hand and I would have had a better finish. Instead I rushed it and used the Dremmel which accidentally left a slight wave pattern to the outside edge of the overlay. I admit, its only really noticeable to myself and everyone who has seen the finished product swears they wouldn’t have seen it but its the first thing I look at. Ugh. Also, if you go too fast the Dremmel doesn’t sand Lexan, it melts it.
I used several arcade pushbuttons to hold the plexi in place while I was drilling and sanding keeping everything tight and lined up.
Several problems with my personal setup:
1. I have a cheap cordless drill I had to recharge several times through the drilling process. Mental note: get a better drill.
2. A huge bag of cheap clamps does not = 3 or 4 really good clamps. Mental note: get better clamps.
3. If you want a really nicely sanded and visibly neat finished product, do not use a Dremmel tool. Mental note: don’t be stupid.
But despite all odds, things went rather smoothly and I was left with a nicely cut, hole matching, piece of art-protecting beauty.
Up next: cup holders and sneeze guard.
This entry was posted on February 6, 2014 by treeball. It was filed under Cobra Arcade Machine and was tagged with arcade machine, Bolt Cutters, caption, cobra arcade machine, control panel, control panel overlay, Lexan, Lexan sheet, lexan vs. plexiglass, Plexiglass, ultimate arcade machine.
Leave a comment